How to create a launch plan for an NFT?
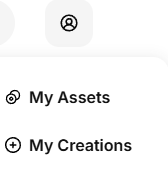
Connect your wallet, then click the profile icon and go to My Creations.

Select Launch and click the Launch button.

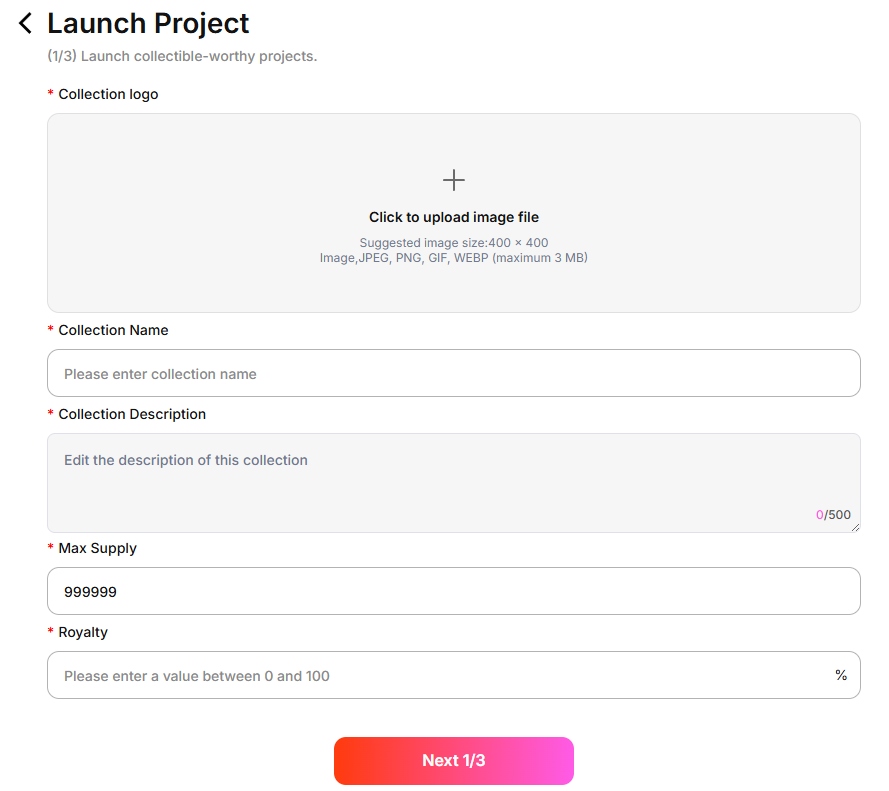
Fill in the relevant launch information – Step 1.
- Collection logo
- Collection name
- Collection description
- Maximum supply of NFTs in the collection
Royalty: Once set, minted NFTs will automatically pay the creator a share based on the royalty percentage whenever they are sold in the future.
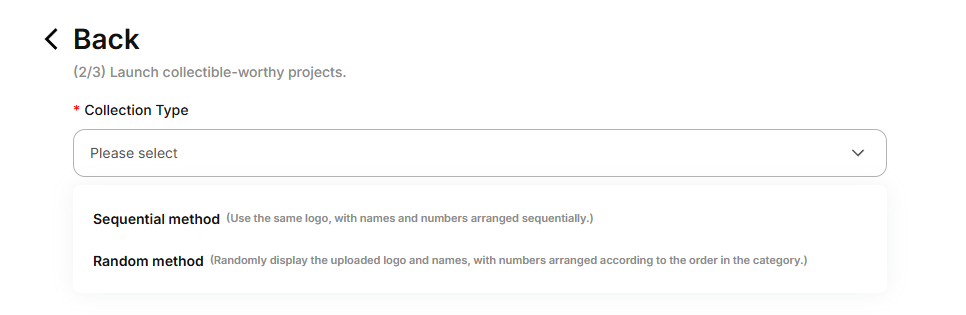
Choose the type of collection.
Sequential Minting: All NFTs use the same image and are minted and displayed in order.
Random Minting: Upload N images along with their supply quantities; the NFTs will be minted randomly.
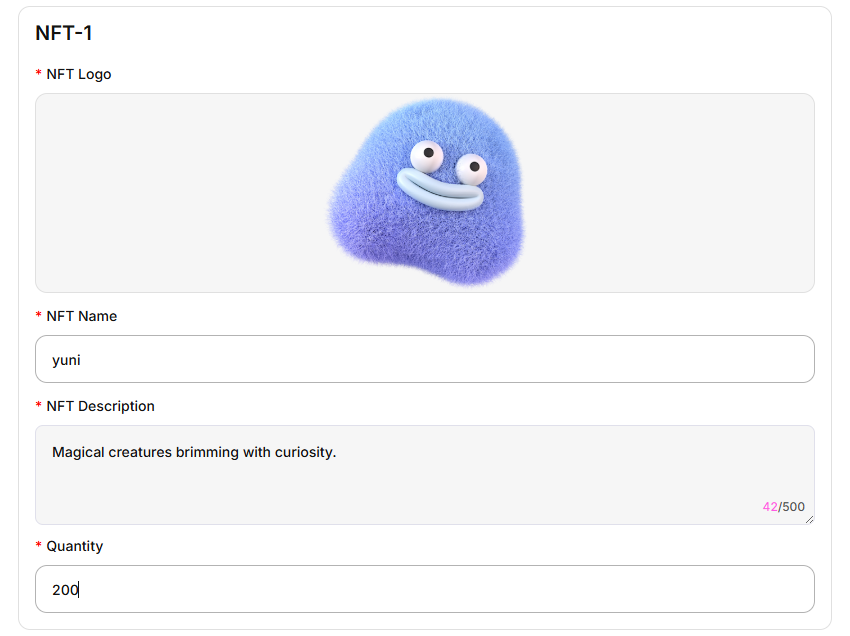
Fill in the relevant information for the NFT.
Sequential Minting: Only one NFT information entry is required.
Random Minting: At least two NFT information entries are required; you can add more according to your launch plan.
- NFT Logo: Upload the image for the NFT display
- NFT Name: Enter the name of the NFT
- NFT Description: Enter a description for the NFT
Quantity: Enter the supply quantity for this NFT
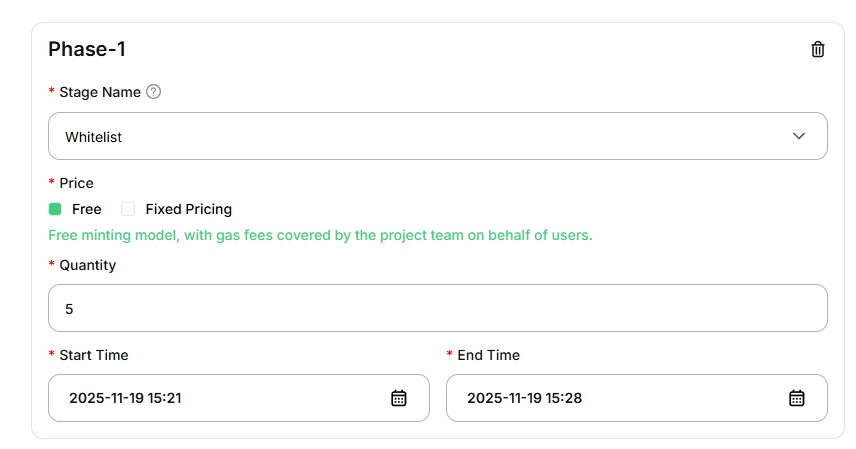
Set the stages of the launch.
You can set the stages according to your own launch plan:
- Stage Name: Currently includes Whitelist Stage, Presale Page, and Public Sale Stage
NFT Price for This Stage: You can set it as free minting, in which case the Gas fee will be paid by the creator; or set a limited price for minting
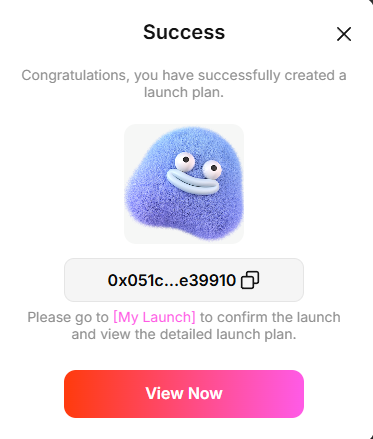
Once the launch plan is successfully created, you can go to the launch list to view details and initiate the designated launch.